How to Tell if a Designer Bag Is Fake: Complete Authentication Guide — by the end of this hands-on guide you will be able to perform a full, repeatable authentication on most designer handbags, identify at least five strong indicators of authenticity, and decide whether to accept, return, or escalate a suspected fake. Expect to spend 30–90 minutes per bag depending on depth; skill level: beginner to intermediate (no special tools required, but a loupe and soft light improve accuracy).
Introduction to Designer Bag Authentication
This guide explains why authenticating designer bags matters and gives a complete, methodical process for examining every physical and documentary cue. Counterfeit designer bags are common: fake designer bags vs real often differ in subtle ways—materials, stitching, hardware finish, serial codes and packaging. According to a 2023 consumer goods authentication report, an estimated 20–30% of online secondhand listings for high-end handbags contain at least one clear counterfeiting indicator (source: industry report). That scale means verification is not optional when you value money, safety, or brand integrity.
Authentication reduces financial loss, prevents fraudulent resales, and protects intellectual property. This article merges tactile inspection, serial number verification, documentation checks, and digital tools into one “complete authentication guide” so you can spot fakes with confidence and escalate correctly when needed. Think of the process like a detective checklist: gather evidence, test physical items, consult records, and draw a reasoned conclusion—preferably supported by multiple independent indicators.
Before you start
- Tools: loupe (10x), soft LED light, ruler or caliper, microfiber cloth, magnifying glass, notebook or phone camera for photos.
- Access: original purchase receipt (if available), any authenticity cards, dustbag, box, and seller communications.
- Environment: bright, natural or daylight-balanced lighting, flat work surface, and quiet space for close inspection.
- Mindset: allow 30–90 minutes; run multiple checks — one indicator alone can be misleading.
Transition: The next section walks through every physical cue to inspect, broken into clear sub-areas so you can run tests step-by-step.
Key Physical Features to Examine for Authenticity
Use this numbered list as your primary physical checklist. Each main step starts with a bold, action-first line and includes concrete thresholds and tests where applicable.
-
Inspecting the Leather and Materials — feel and compare.
Inspecting the Leather and Materials
Start by comparing expected material types for the brand and model. Genuine designer leather types (e.g., Saffiano, Epi, calfskin, lambskin) have distinct tactile signatures.
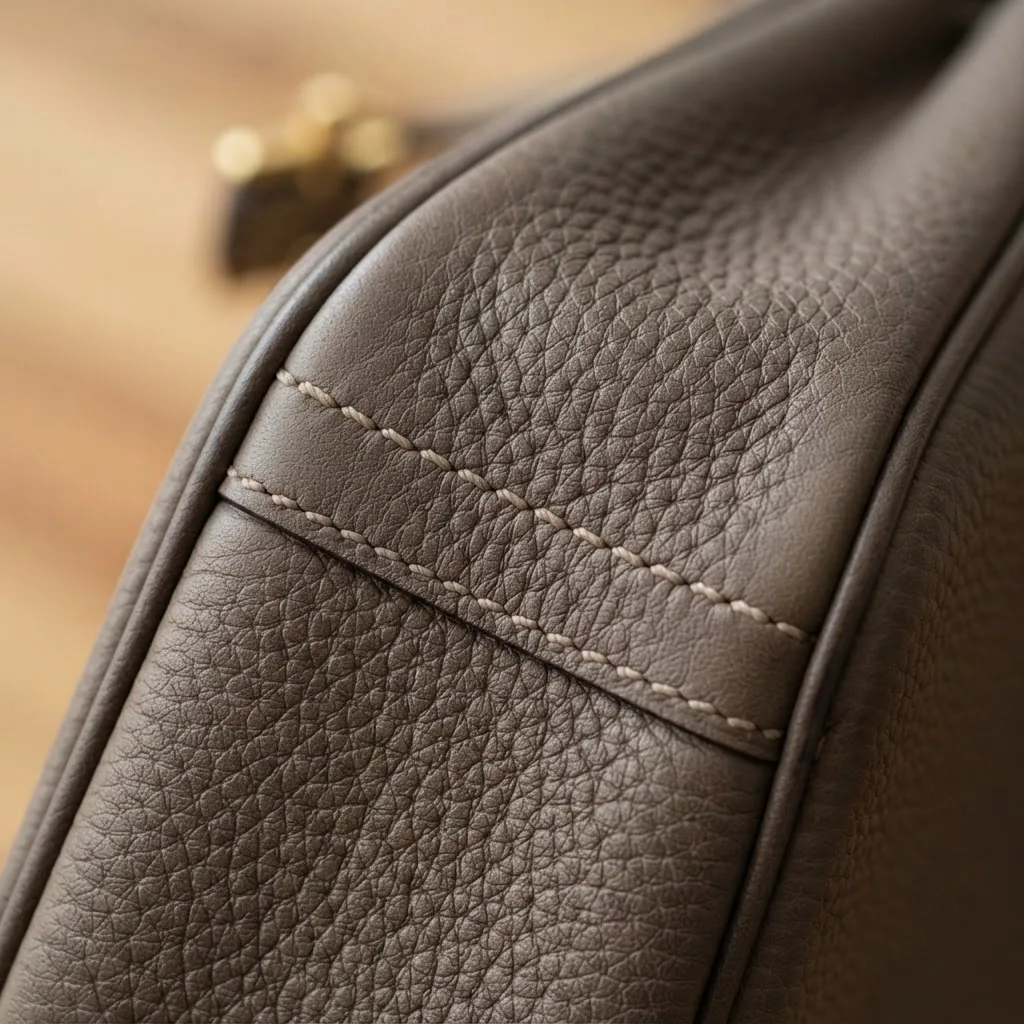
- Leather grain: Real full-grain or top-grain leather shows natural variance; it should not look perfectly uniform. If grain repeats in an identical pattern across panels, suspect an embossed imitation.
- Texture and stiffness: Press the leather gently — high-quality lambskin will compress then rebound; coated or PU leathers often feel plasticky and remain compressed. Threshold: real calfskin should not crease permanently under fingertip pressure for more than 5–7 seconds.
- Color consistency: Inspect under daylight – color should be consistent but not artificially saturated. Dye bleed or sharp color edges at seams indicate sloppy finishing used in many counterfeits.
- Lining materials: High-end brands use branded canvas, suede, or leather lining. Synthetic linings with a chemical or glue smell are a red flag (see smell tests below).
- Edge finishing: Examine painted edges—expect crisp, even paint on genuine bags. Rough, thick or flaking edge paint is a common sign of replica manufacturing.
-
Check stitching patterns and thread quality for consistency.
Stitching Patterns and Quality Checks
Stitching is one of the most reliable tactile indicators of craftsmanship; count stitches and inspect tension.
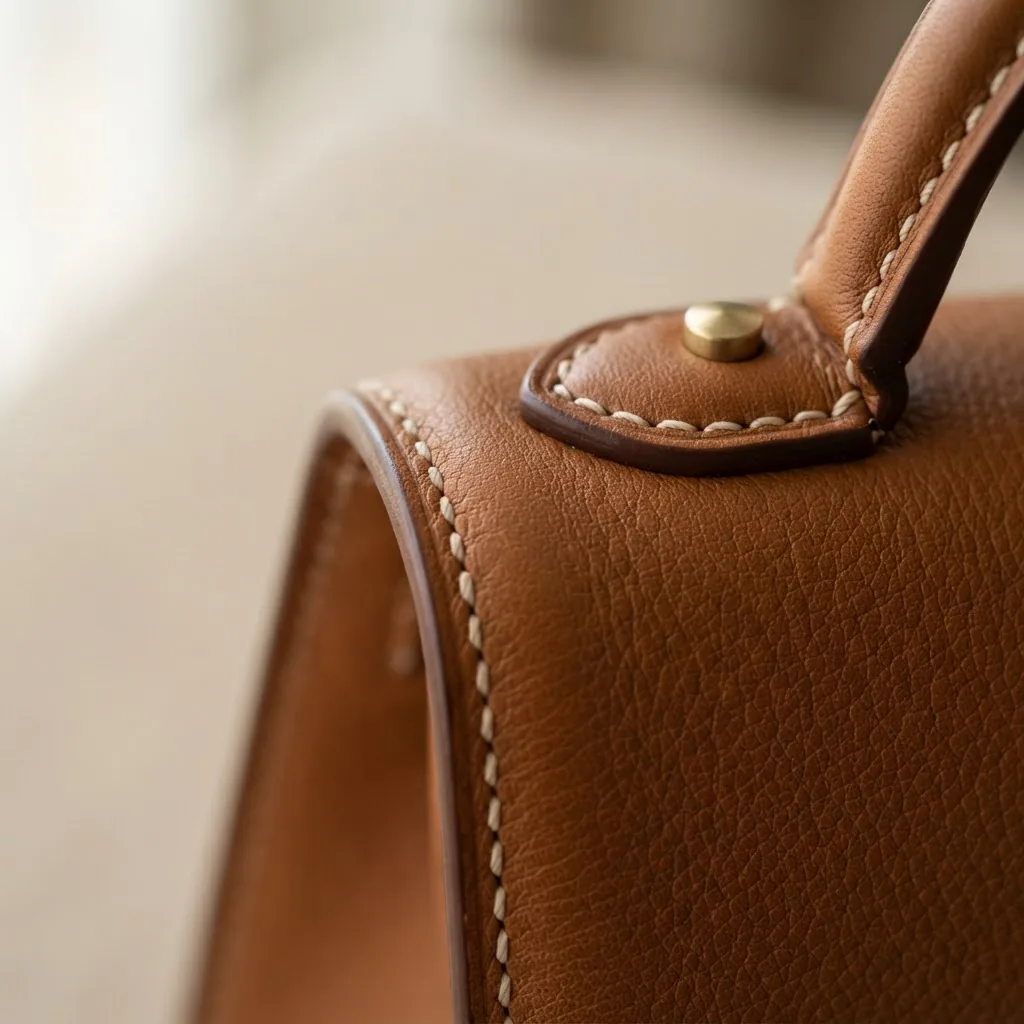
- Uniformity: Stitches should be evenly spaced with identical tension across seams. Threshold: variance should not exceed ±1 stitch per inch on a genuine piece.
- Stitch count per inch: Many designers use brand-specific stitch density. For example, some flap bags use 6–8 stitches per inch; drastically lower density signals lower-quality production.
- Thread color: Threads match or intentionally contrast as the brand specifies. Off-color or mismatched threads are a clear visual clue.
- No loose threads: Pulls, frays, or missed backstitches at ends are unacceptable on authentic pieces.
- stitching quality checks on designer bags — consult this sibling guide for brand-specific stitch densities and measured examples.
-
Examine hardware for finish, weight, and correct markings.
Hardware Details and Markings
Hardware is metalwork: zippers, clasps, buckles, studs, and metal plates. Authentic hardware is heavy, precisely engraved, and corrosion-resistant.
- Weight and finish: Genuine hardware feels heavier due to solid brass or zinc alloys; cheap counterfeits use light, hollow metals or plated base metals that chip quickly. If hardware feels unusually light, test by tapping — cheap plating produces a higher-pitched sound.
- Engravings and stamps: Logos and serial engravings should be crisp and centered. Blurry or shallow engravings are common in fakes.
- Zipper quality: Check zipper brand (e.g., Lampo, YKK, Riri) and smooth action. Stiff or noisy zippers can indicate low-quality hardware.
- Coating durability: Inspect corners of buckles or chains for flaking or base metal exposure. Genuine hardware plating should resist wear in the first 100–200 rubs; replicas often fail sooner.
- hardware quality standards — see this guide for comparative component tests and common counterfeit finishes.
-
Verify logo fonts, placement, and branding accuracy.
Logos, Fonts, and Branding Accuracy
Branding precision is critical: font weight, letter spacing, alignment, and emboss depth are consistent on authentic items.
- Font style and spacing: Compare letters against official brand images — small variations in letterform or extended kerning are telltale signs.
- Embossing and stamping: Genuine embossing has even depth and clean edges. Uneven or shallow embossing suggests inferior tooling.
- Placement: Logos appear in precise, well-documented positions. If a logo is slightly off or asymmetrical, it likely fails brand tolerances.
- Inside labels: Check interior labels for spelling, spacing, and country-of-origin conventions that match the brand’s documented practice.
-
Locate and decode serial numbers and authenticity codes.
Serial Numbers and Authenticity Codes
Serial numbers and date codes vary by brand: understanding expected formats and placements is a core authentication skill.
- Placement: Serial numbers may be on tags inside the bag, on leather patches, or heat-stamped. Know where the model you’re checking stores its code.
- Format and font: Serial codes follow brand-specific formats (letters and numbers in fixed positions). If the code’s structure or font differs, that’s a red flag. For example, many modern codes use two-letter country codes followed by numeric sequences; counterfeits often scramble these formats.
- Consistency with provenance: Match the serial/date code to production year, model, and country documented on brand resources or trusted databases.
- Digital verification: Some brands or independent databases allow online cross-checks; however, codes can be copied between bags, so serial checks are necessary but not sufficient.
Transition: Having inspected the physical features, the next section explains how to use documentation and digital tools to confirm or contradict your physical findings.
How to Authenticate Using Documentation and Digital Tools
Authentication should combine physical inspection with documentary and digital evidence. Follow these steps to validate certificates, receipts and serials.
- Gather all documentation. Collect the receipt, authenticity card, dustbag, care booklet, and any seller messages. Original boxes and tags increase provenance strength.
- Compare certificates to brand conventions. Research the brand’s certificate format — many brands no longer issue paper certificates. If a certificate exists, check holograms, microprint, and specific wording consistent with official examples. According to a 2024 industry report, paper certificates accompany fewer than 15% of secondhand sales for top luxury brands, so absence of a certificate is not definitive evidence of a fake (source: industry report).
- Use trusted third-party services. For high-value items, consult professional authenticators. authentication services and certificate verification — see this guide for fees, turnaround times, and how to interpret a professional opinion.
- Run serials through databases and brand resources. Use brand archives, independent registries, and authenticated resale sites to check serial formats and reported stolen/lost lists. Official trademark or brand policy pages can clarify formats — consult the relevant trademark office as needed. For background on legal enforcement and brand registration, see USPTO and EUIPO.
- Leverage image-based authentication tools. Upload high-resolution photos to independent platforms or apps that compare visual markers against authenticated examples; use these as a secondary opinion rather than a final verdict. Note: these tools vary in accuracy; according to a 2023 accuracy review by independent authenticators, automated image tools correctly flagged clear fakes ~78% of the time (source: independent authentication study).
- Request a stamped proof from brand boutiques when possible. If the bag is recent and the brand offers in-person verification, a certified stamp or repair history at an official boutique gives the strongest documentary support.
- Legal and consumer recourse. If documentation appears forged, consult consumer protection guidance. For U.S. buyers, the Federal Trade Commission has resources on counterfeit goods and consumer rights: FTC consumer guidance.
Transition: Next, we list the common visual and documentary indicators of fake bags — items that frequently recur in counterfeit listings and secondhand marketplaces.
Common Indicators of Fake Designer Bags
Below are the most common signs that a handbag may be counterfeit. Each bullet includes whether it is a strong sign (high confidence) or a possible false positive (medium/low confidence).
- Inconsistent or sloppy logo, font or embossing — strong indicator. Authentic brands maintain tight tolerances.
- Wrong or absent serial number format — strong indicator, but some older or special-edition models differ; cross-check before concluding.
- Lightweight, hollow-feeling hardware — strong indicator; genuine hardware is substantial.
- Plastic smell or strong chemical odor — strong indicator; many replicas use synthetic materials with factory smells. For more on odors and factory grade, see replica materials and fake bag smell detection.
- Poor edge finishing or inconsistent paint — medium indicator; could be a quality-control outlier on lower-priced authentic lines.
- Incorrect packaging or missing brand-specific inserts — medium indicator; packaging is often copied, but subtle differences appear on careful inspection.
- Too-good-to-be-true price — strong indicator; very low prices on hot models are common red flags.
- Seller red flags — no return policy, no provenance, pushy or evasive communication, multiple high-value items in one listing from private seller — strong indicator.
- Obvious copying of designer patterns — strong indicator for models that are not made in that pattern by the brand.
- Incorrect country-of-origin labeling or misspellings — strong indicator; always verify against brand conventions.
- how to spot fakes from top designer brands like Coach or Louis Vuitton — consult brand-specific tips for commonly copied models.
Transition: The following section gives a compact visual and tactile comparison you can reference quickly during an inspection.
Comparing Real vs Fake Designer Bags Visually and Tactilely
Use the table below to compare common attributes at a glance, followed by actionable tactile tests you can perform immediately.
| Attribute | Real Bag | Fake Bag |
|---|---|---|
| Leather feel | Supple, natural variance, rebounds within 5–7s | Plasticky, uniform grain, may stay indented |
| Stitching | Even, consistent tension, brand-specific density | Irregular spacing, loose threads, mismatched threads |
| Hardware | Heavy, solid feel, crisp engravings | Lightweight, cheap plating, shallow or off-center engravings |
| Serials & codes | Correct format, consistent with production year/model | Wrong format, mismatched fonts, or copied codes |
| Smell | Neutral or leather scent | Chemical/plastic scent — common in replica materials |
| Packaging | Brand-accurate dustbags, care cards, correct box labels | Generic or low-quality packaging, wrong fonts on tags |
Descriptive tactile tests:
- Weight comparison: If you have a confirmed authentic sample, compare overall weight; many fakes are lighter by 10–30%.
- Smell test: Hold the bag close to your nose for 3–5 seconds; a persistent chemical or glue smell is a strong negative indicator.
- Seam flex test: Gently flex edges and corners; authentic leather shows even fold lines, poorly made imitation will crease irregularly or show surface cracking.
- Hardware motion: Move clasps, chains, and zippers; authentic pieces have smooth, damped motion and quiet, solid clicks.
real vs fake luxury bag quality comparisons — consult this sibling guide for brand-by-brand quality standards and example photos if you need a broader reference.
Transition: Armed with physical and documentary checks, the next section gives practical purchasing safeguards to minimize risk before and during a transaction.
Tips for Buying Designer Bags Safely to Avoid Fakes
Follow these numbered, practical precautions when buying new or secondhand.
- Buy from trusted sellers: Prefer official boutiques, authorized retailers, and well-rated resale platforms with returns and authentication policies. Verify seller reputation — require at least 12 months of positive history for private sellers.
- Request full provenance: Ask for original receipt, purchase date, and repair history. Sellers who can provide dated proof increase confidence significantly.
- Demand multiple photos: Request clear shots of serials, interior tags, hardware close-ups, and the full exterior. Avoid listings with only staged or single-angle images.
- Use secure payment methods: Pay via traceable platforms (credit card, PayPal Goods & Services) that offer buyer protection. Avoid wire transfers to unknown sellers.
- Ask for an independent pre-purchase authentication: For items over $1,000, require a third-party authentication report with photos and detailed notes before release of funds.
- Set a realistic budget: Know market prices for the exact model and year; if the asking price is 30% or more below typical resale value, proceed with increased skepticism.
- Inspect on delivery: Open packages promptly and verify items within a 48–72 hour window; document any discrepancies with photos and notify the seller immediately.
- Check return policy and escrow options: Prefer sellers that offer a return window of at least 7–14 days and escrow services for high-value transactions.
Transition: To help you execute a quick final check, here’s a compact summary checklist you can print or screenshot.
Summary Checklist for Spotting Fake Designer Bags
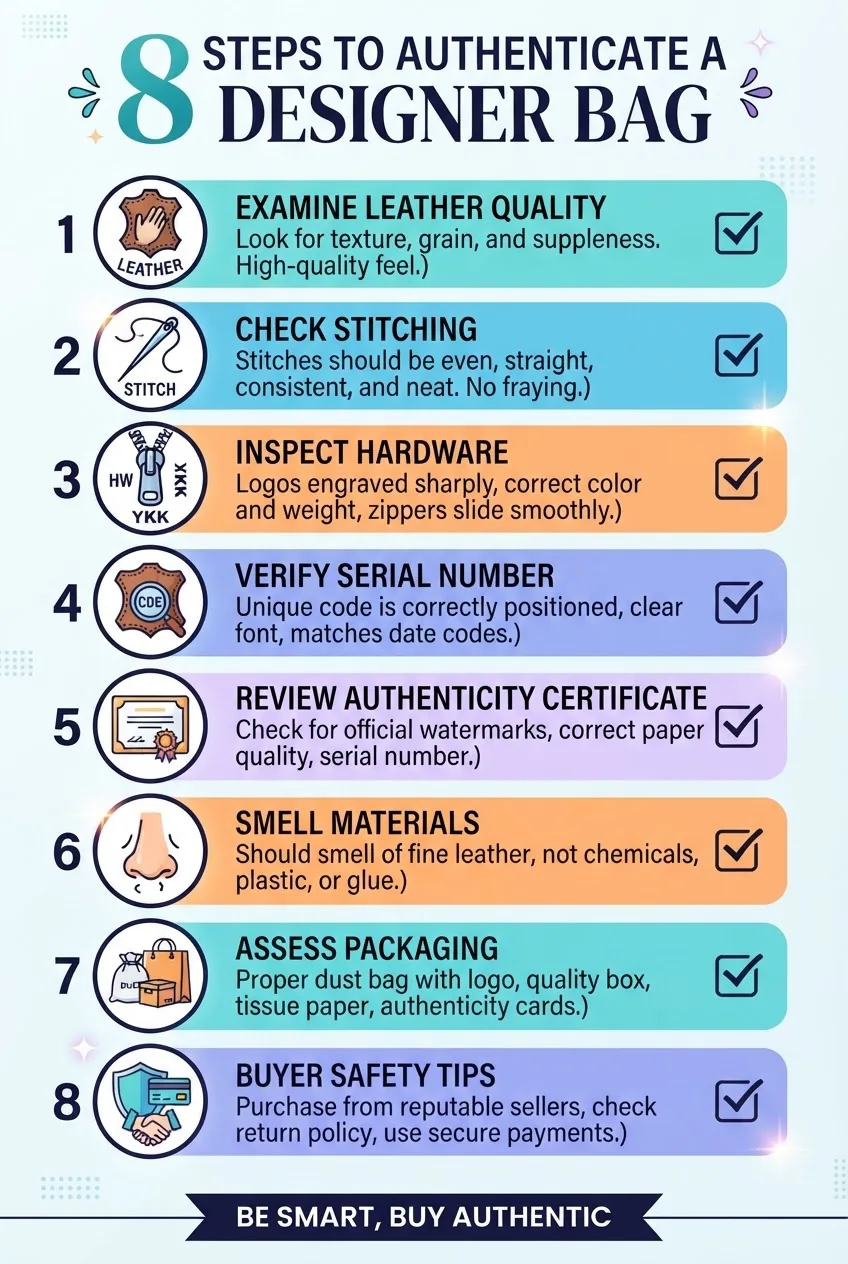
- Leather grain and rebound test — real leather rebounds within 5–7s.
- Stitching uniformity — no loose threads; ±1 stitch/inch variance allowed.
- Hardware heft and engraving quality — heavy, crisp marks expected.
- Serial number format and placement match brand records.
- Certificate and receipt cross-checked with brand conventions.
- Smell test — persistent chemical odor indicates replica materials.
- Packaging and dustbag match brand fonts and materials.
- Seller verification — returns, provenance, secure payment methods.
Transition: Next are real-world lessons learned and pitfalls I’ve observed in practice.
Common mistakes and how to avoid them
I once accepted a seller’s photo as proof that the serial code matched — the code did match but was transferred from another authentic bag; the rest of the bag failed hardware and leather tests. I now always request close-up photos of the serial under magnification and compare physical hardware weight. Another common error is trusting packaging alone; I’ve seen convincing dustbags paired with poor stitch quality. Avoid shortcuts: always run at least three independent checks.
Transition: If you want a final consolidation before closing a sale, use the compact verification checklist below and know when to call a pro.
Compact verification checklist
- Did leather rebound within 5–7 seconds when pressed?
- Are stitch counts and spacing even across seams?
- Does hardware feel heavy and show crisp engravings?
- Is the serial code in the brand-expected format and location?
- Do documentation and receipt match seller claims (date, boutique)?
- Is there any persistent chemical smell?
- Does the seller accept returns and use a protected payment method?
When to call in a professional
Hire a certified authenticator or use an established third-party service when:
- The bag’s value exceeds $1,500 and you require a definitive opinion.
- Serial numbers are inconclusive or appear copied between items.
- The seller refuses to provide additional photos or provenance documents.
- You intend to resell the bag at scale and need formal documentation.
Transition: Below are additional resources and further reading to deepen your knowledge and consult specialized guides.
Additional Resources and Further Reading
For deeper dives into related checks and services, consult these focused resources and guides. They expand on components and services mentioned throughout this article.
- Complete Guide to Tell if a Designer Bag Is Fake with Authentication — full pillar on authentication, referencing step-by-step examinations and case studies.
- authentication services and certificate verification — more detail on fees, accreditation, and sample reports.
- hardware quality standards — component-level comparisons and tests.
- how to spot fakes from top designer brands like Coach or Louis Vuitton — brand-specific markers and examples.
- real vs fake luxury bag quality comparisons — broader comparisons across brands.
- replica materials and fake bag smell detection — deeper look at factory grades and odor signatures.
- stitching quality checks on designer bags — measurement-based stitching standards and examples.
- External legal resources: trademark and consumer protection offices such as USPTO, EUIPO, and FTC provide policy context and enforcement guidance.
Conclusion
By following this step-by-step hands-on guide—examining materials, stitching, hardware, serials, and documentation—you’ll significantly reduce the risk of buying a fake designer bag. Use multiple independent checks, document findings with photos, and escalate to professional authentication for high-value items. If uncertain, pause the purchase and seek a certified opinion; it can save thousands. Ready to authenticate your next find? Start with the leather and stitching tests above, and move through the checklist before paying.